Purchase a Domain with Route 53
To host our app on our own custom domain, we’ll be using Amazon Route 53.
If you are following this guide but are not ready to purchase a new domain, you can skip this chapter.
On the other hand, if you have an existing domain that is not on AWS, follow these docs to move it over to Amazon Route 53.
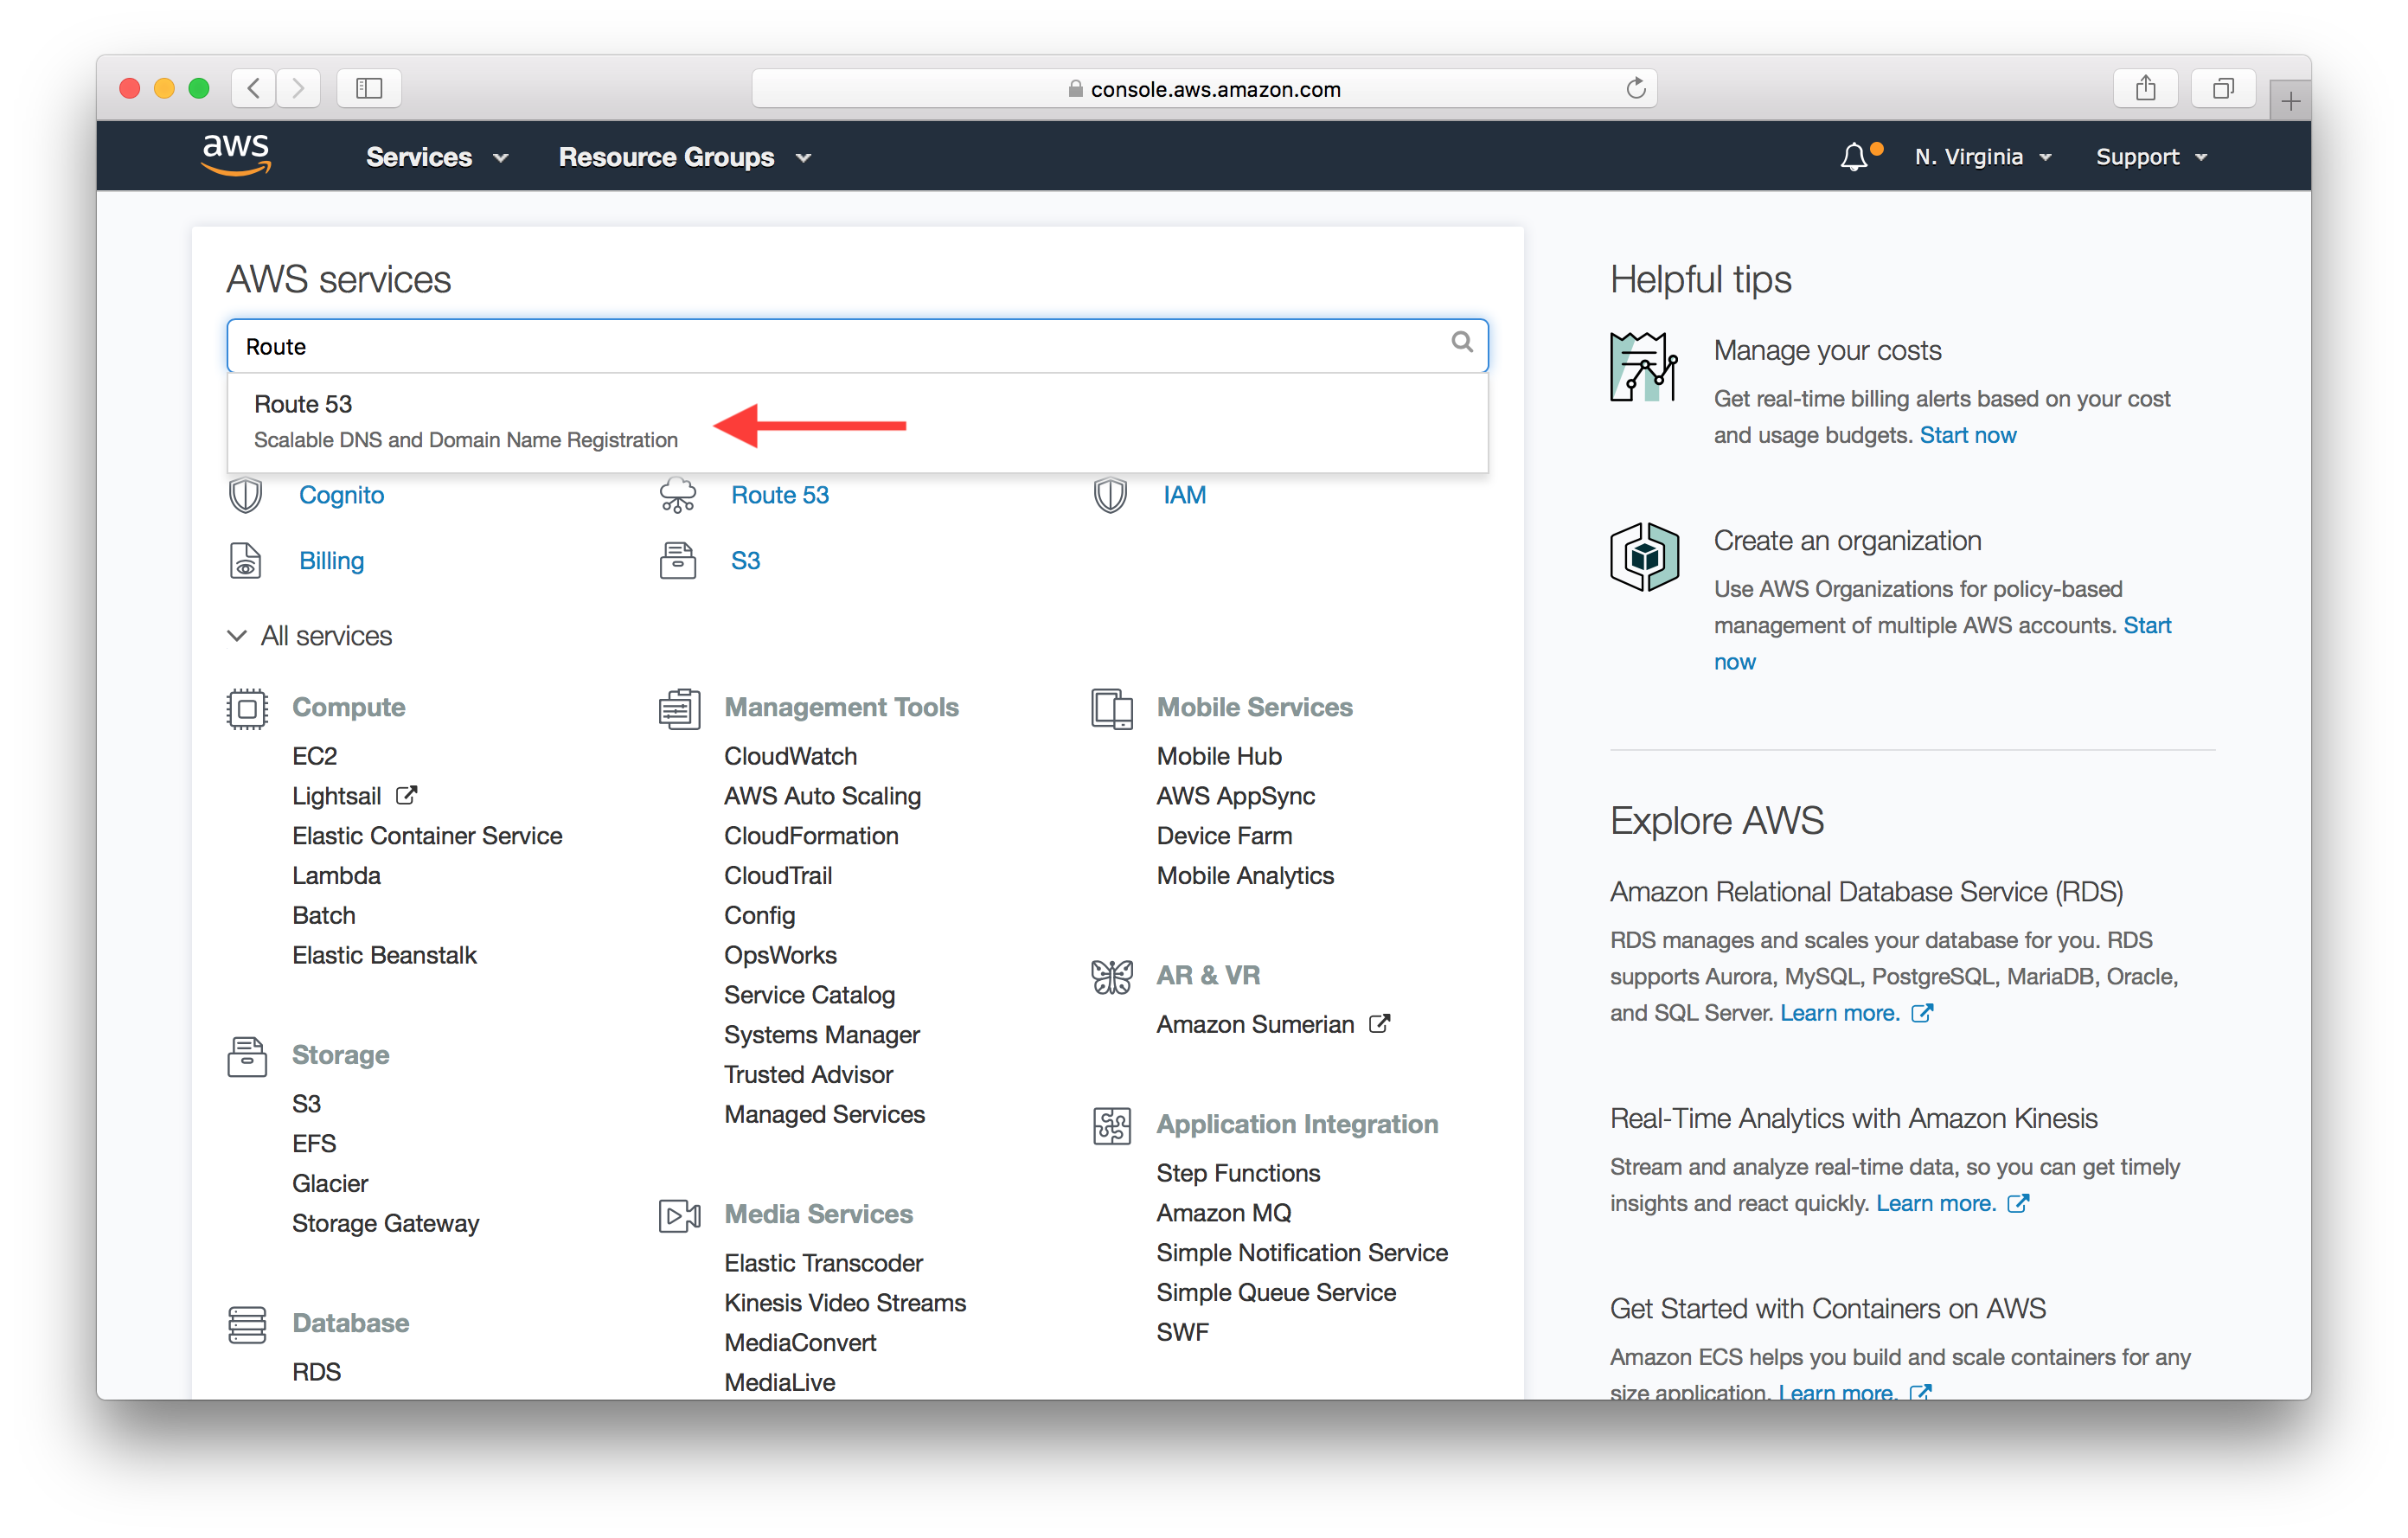
Let’s get started. In your AWS Console head over to the Route 53 section in the list of services.
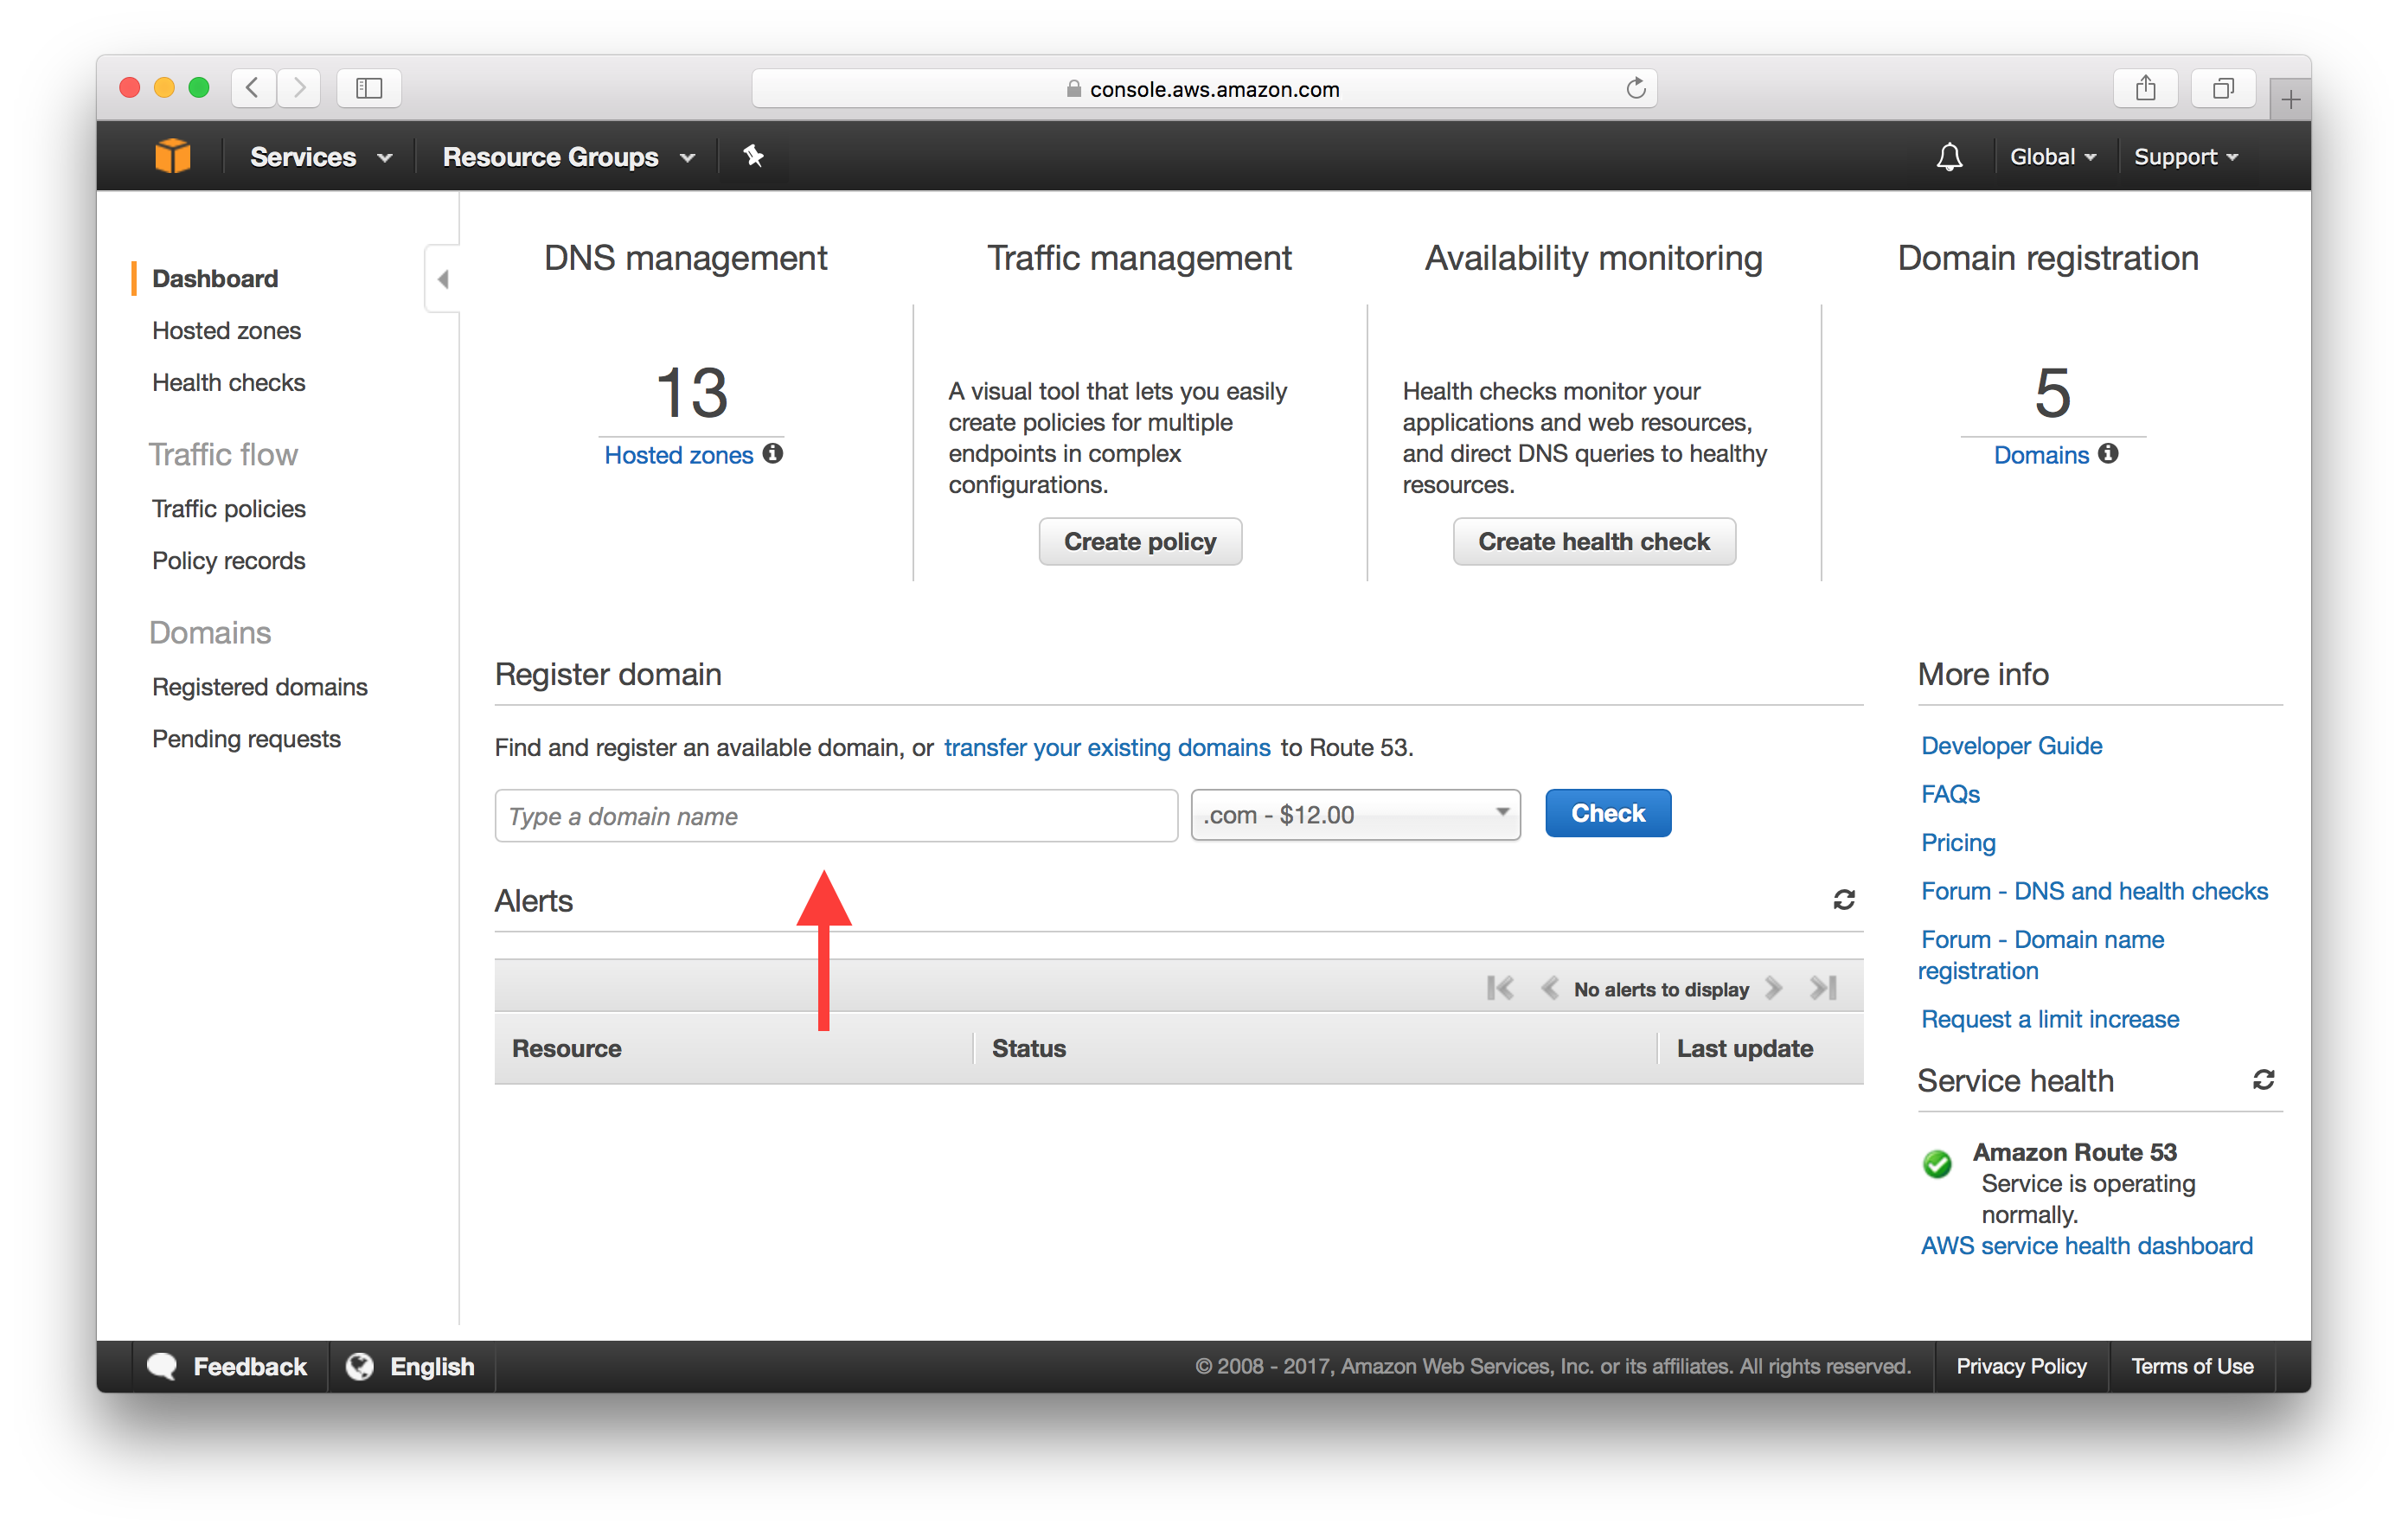
Type in your domain in the Register domain section and click Check.
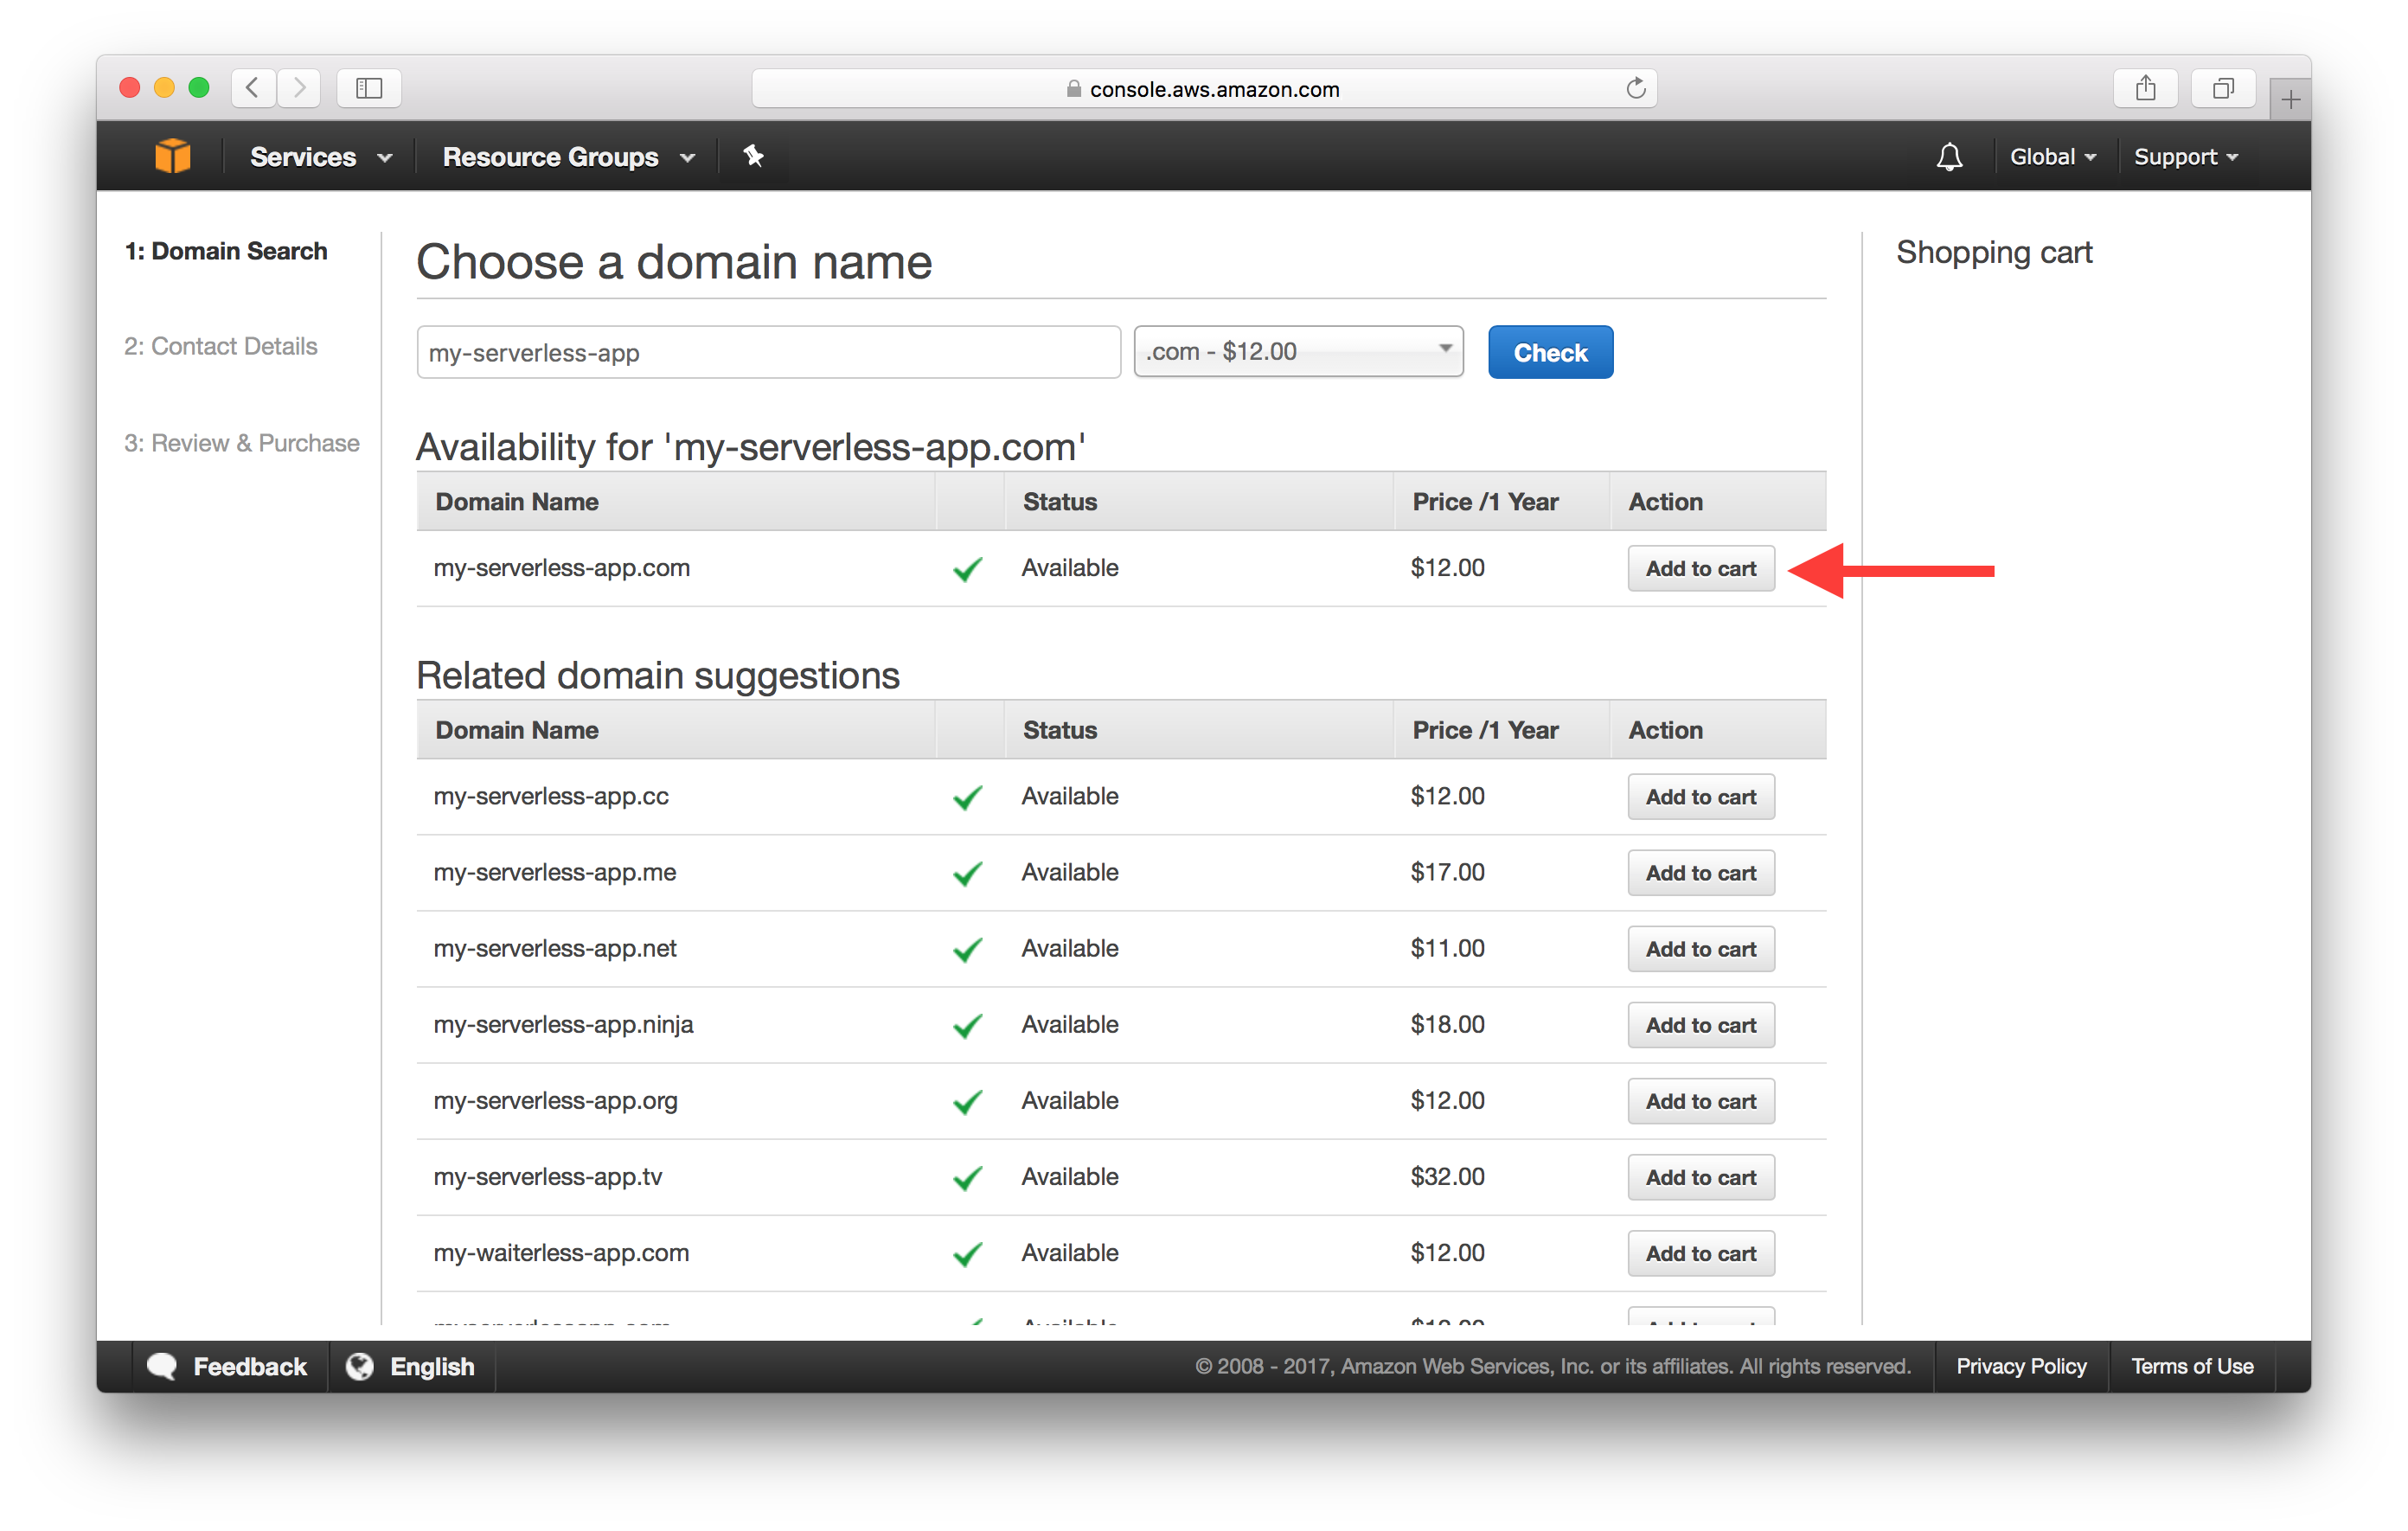
After checking its availability, click Add to cart.
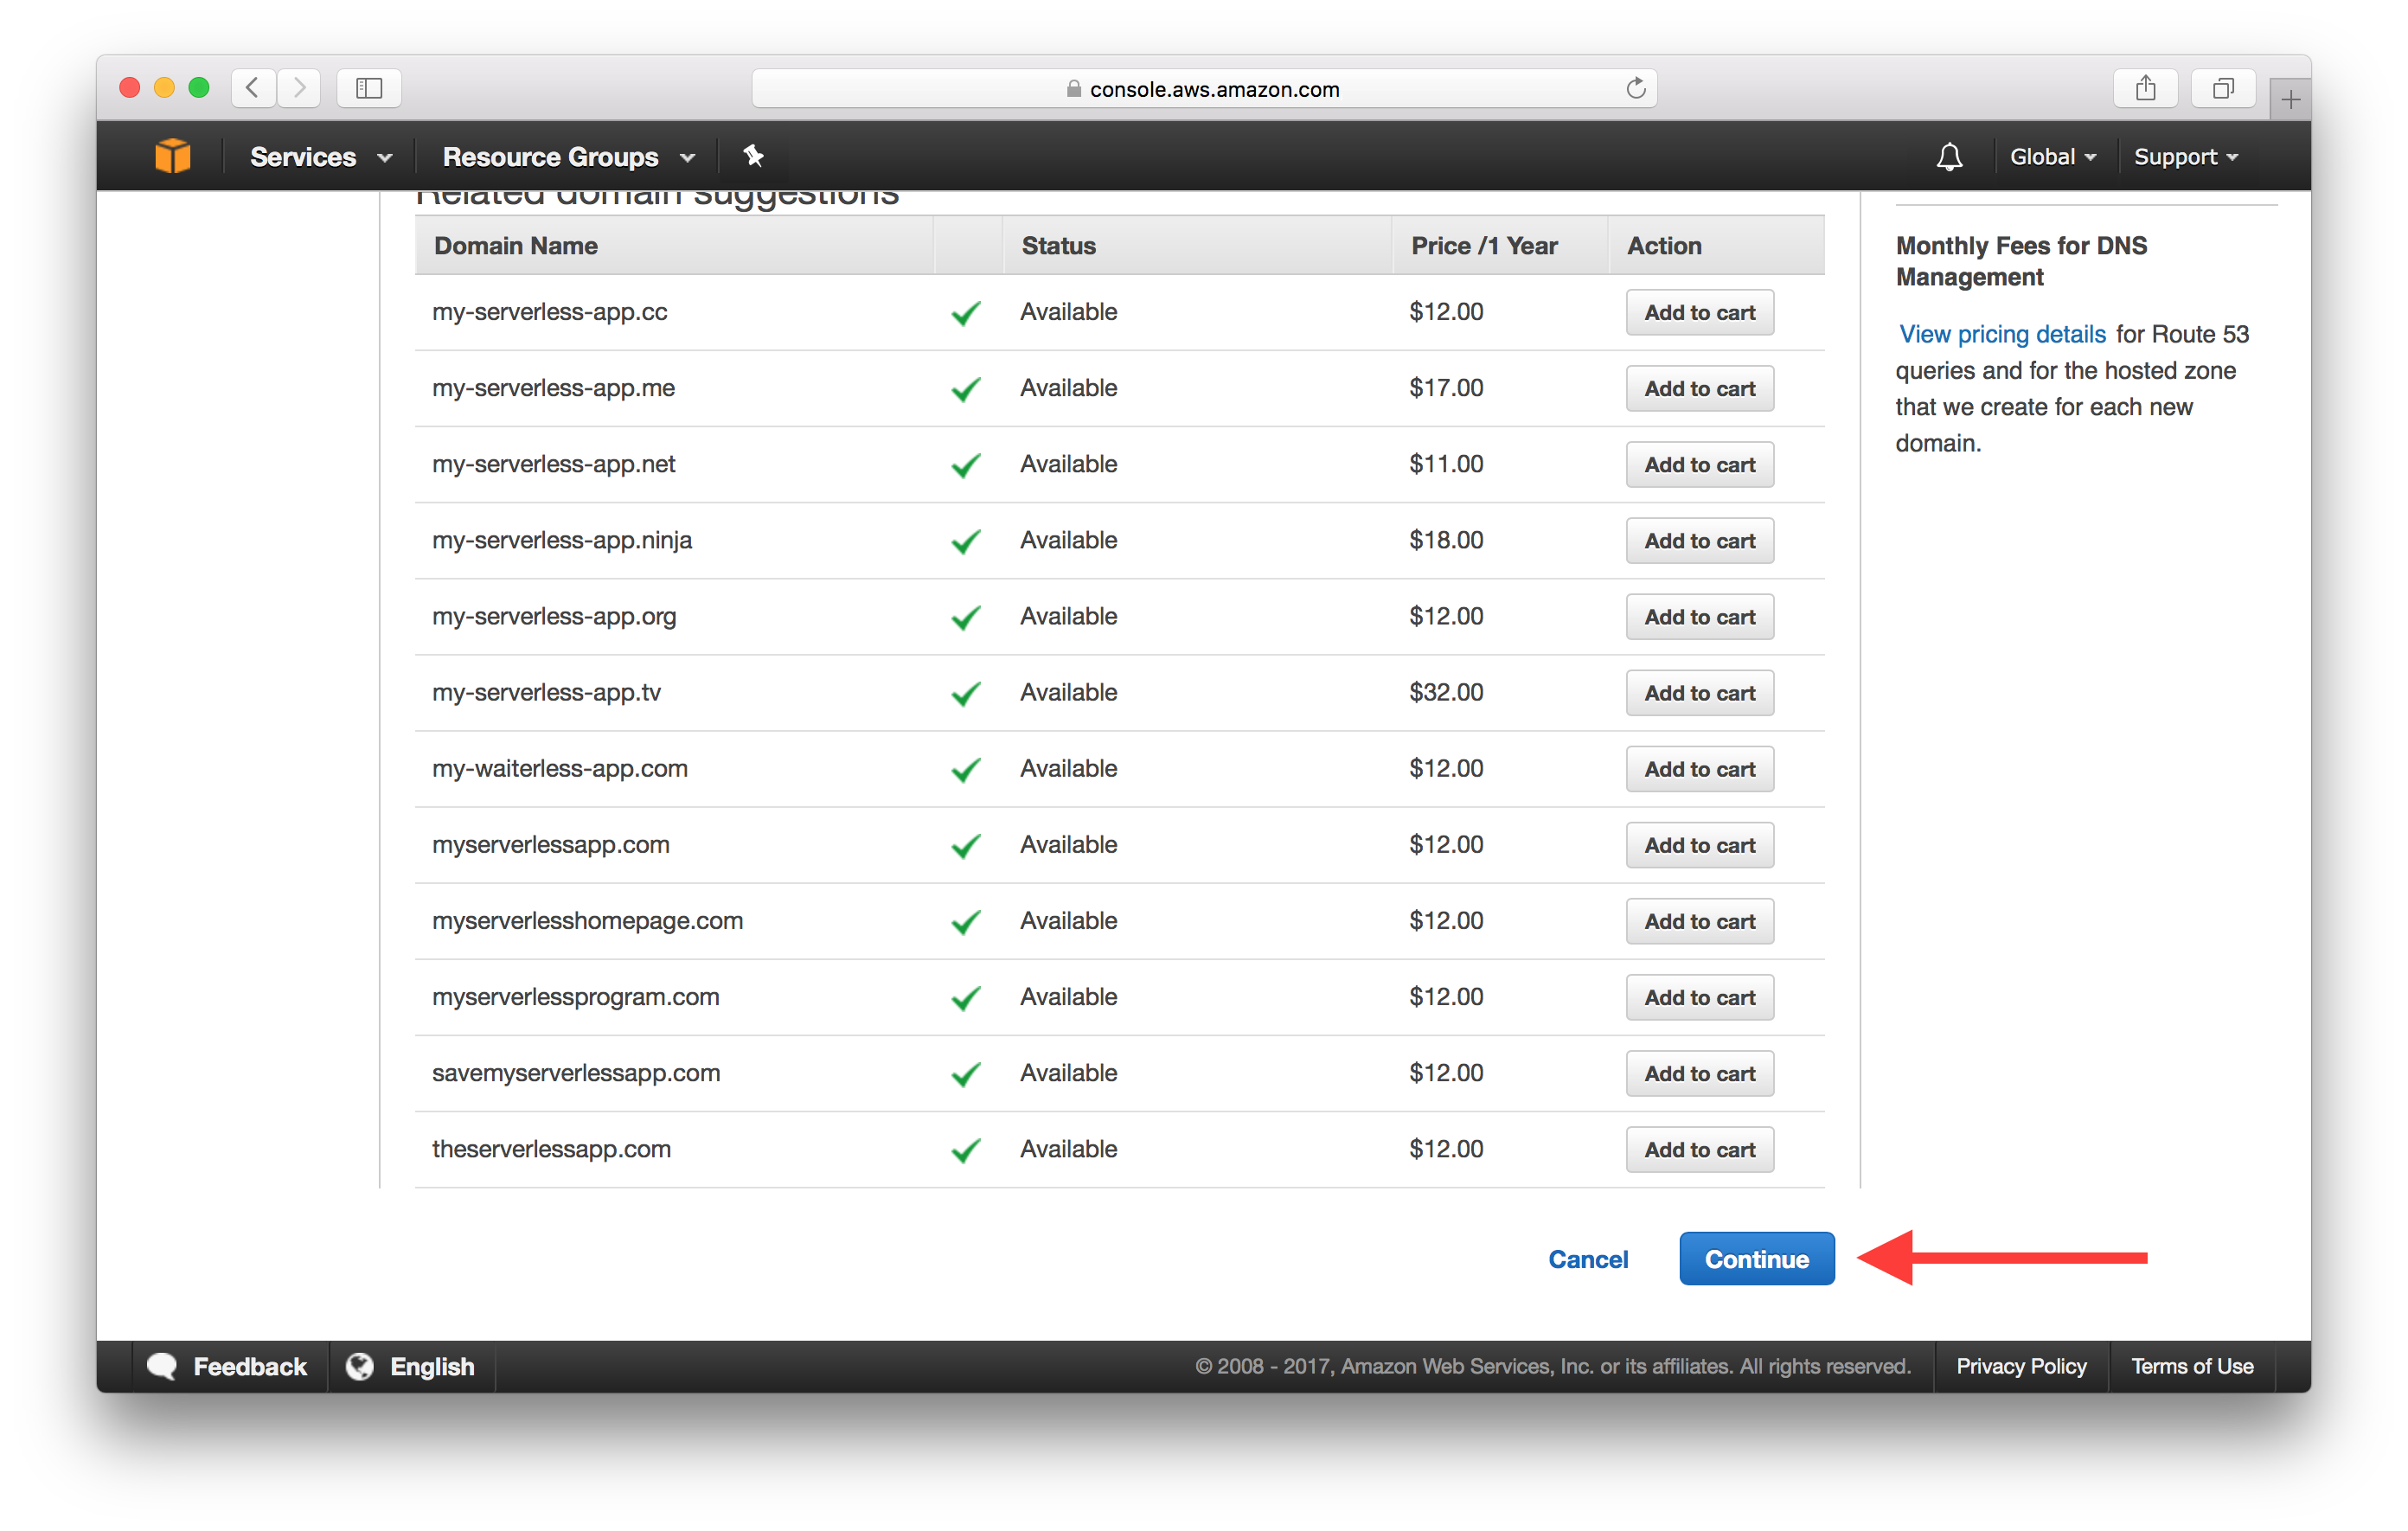
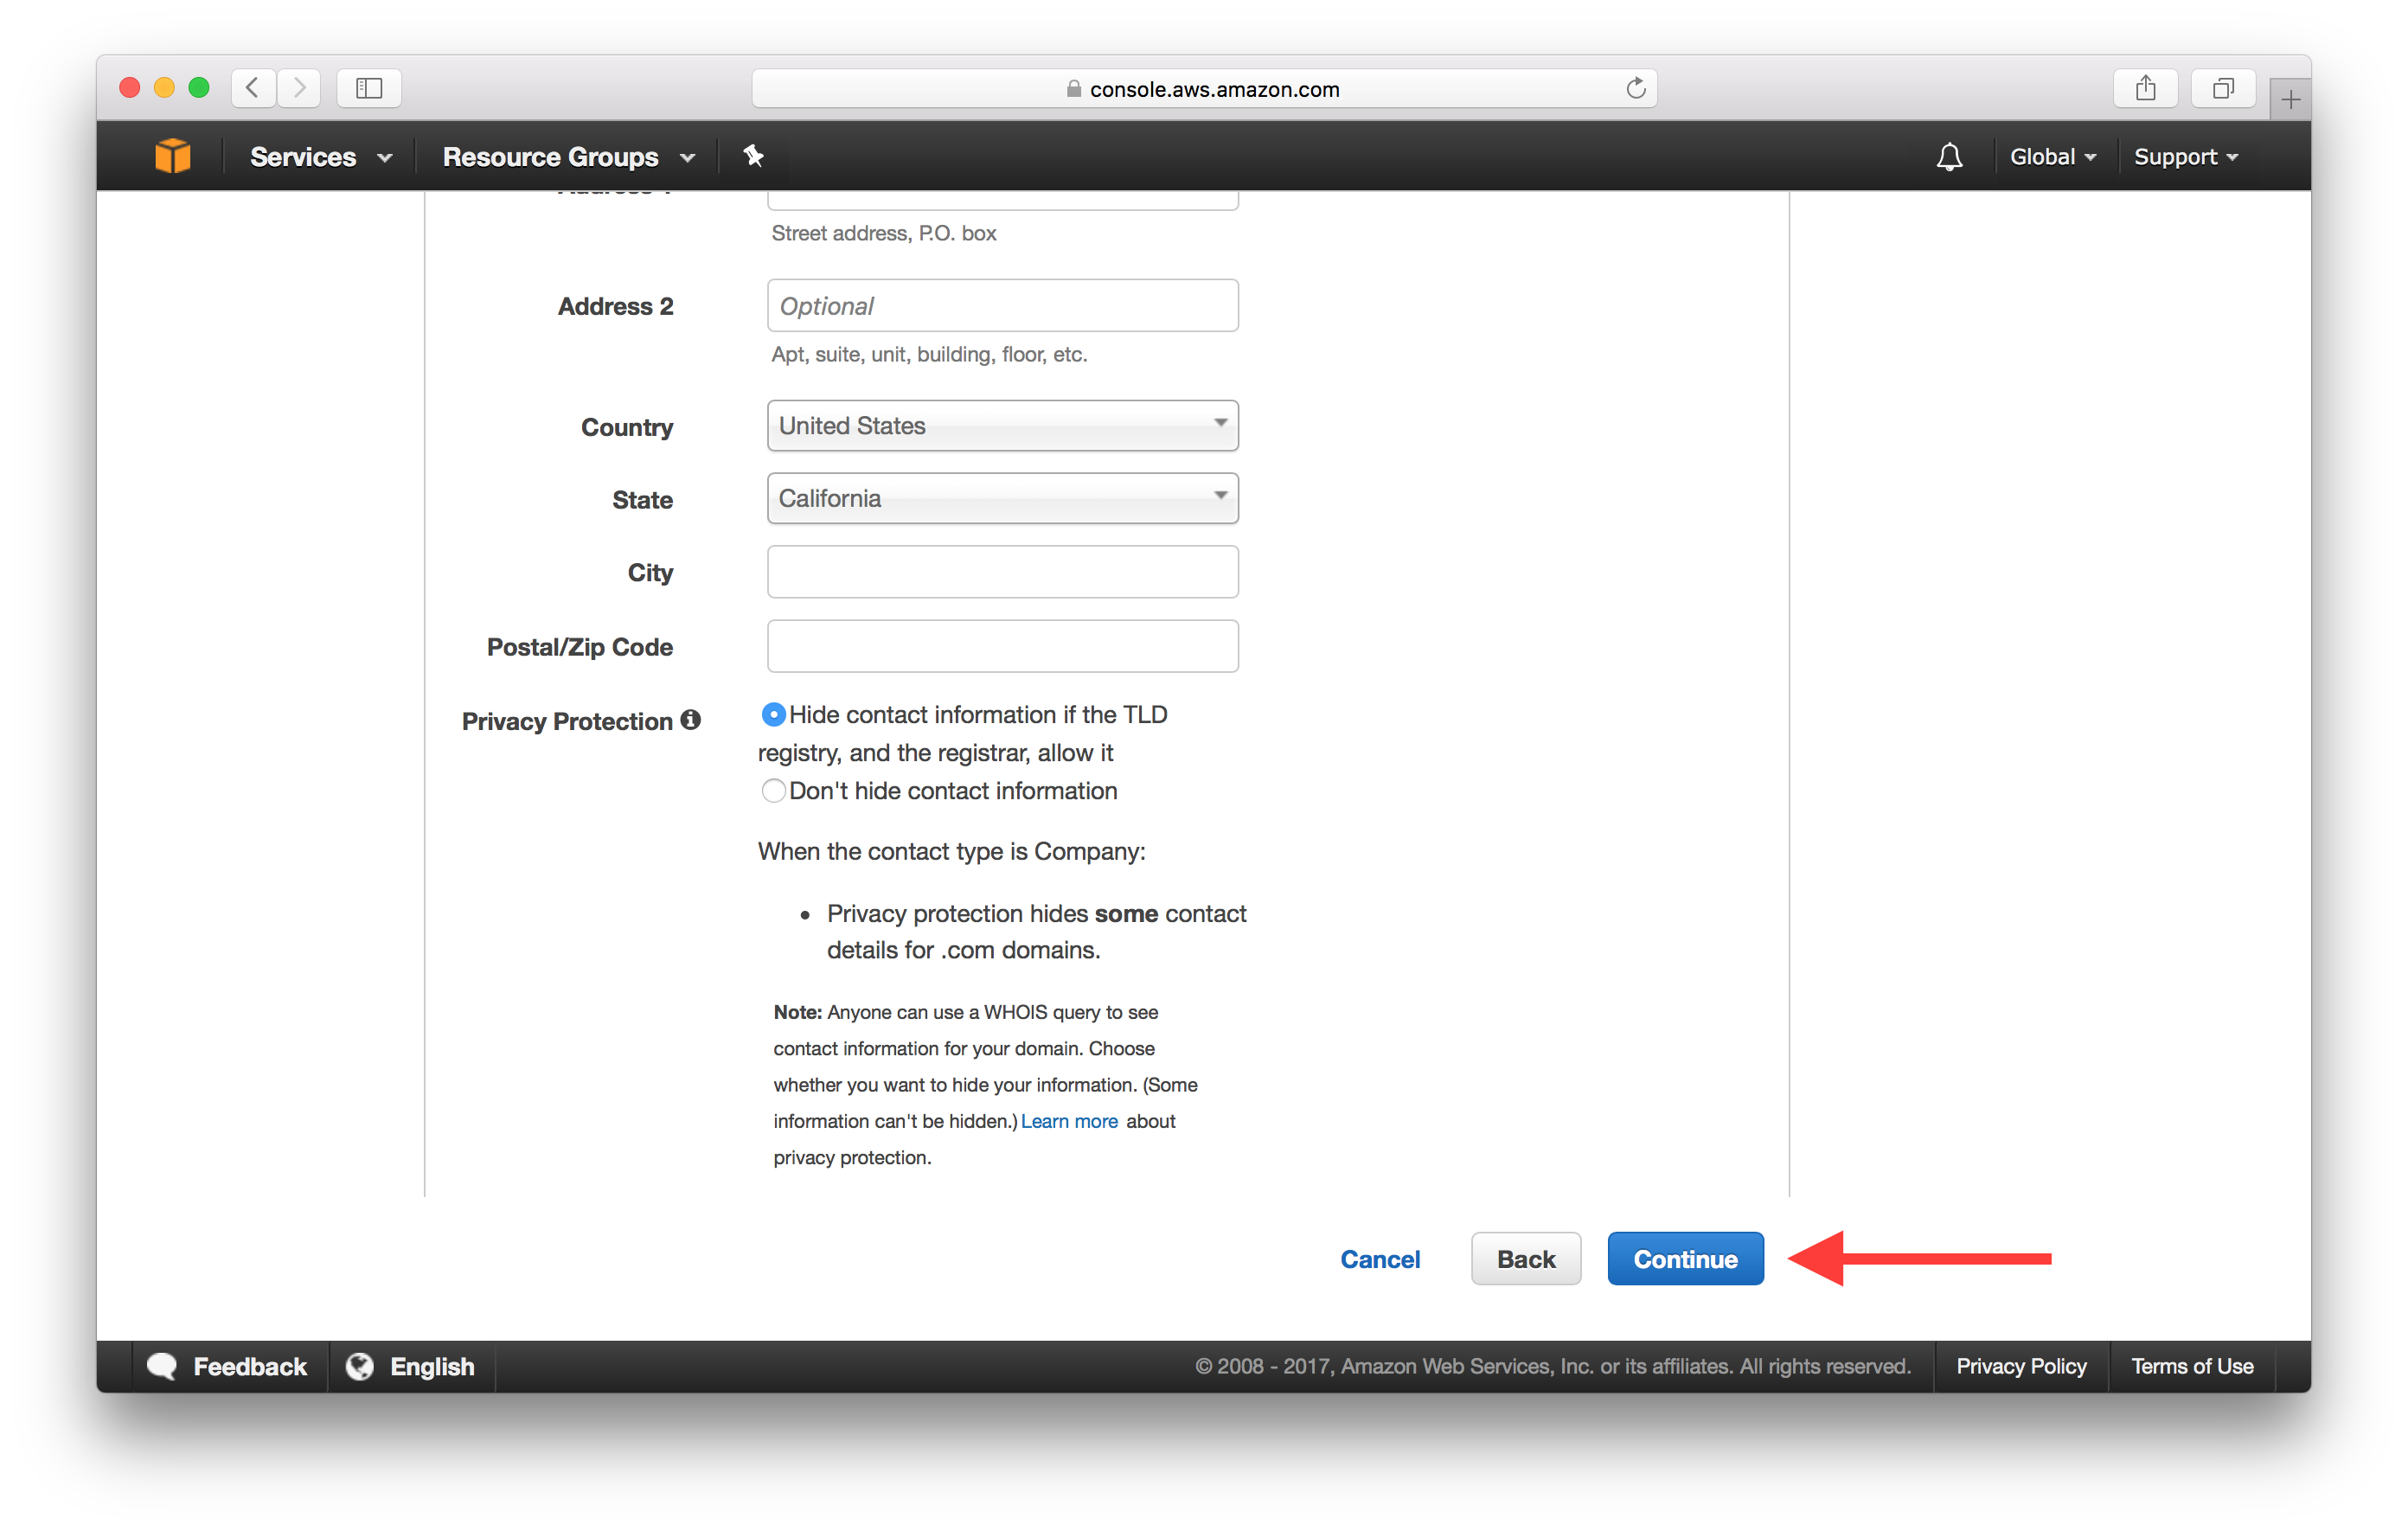
And hit Continue at the bottom of the page.
Fill in your contact details and hit Continue once again.
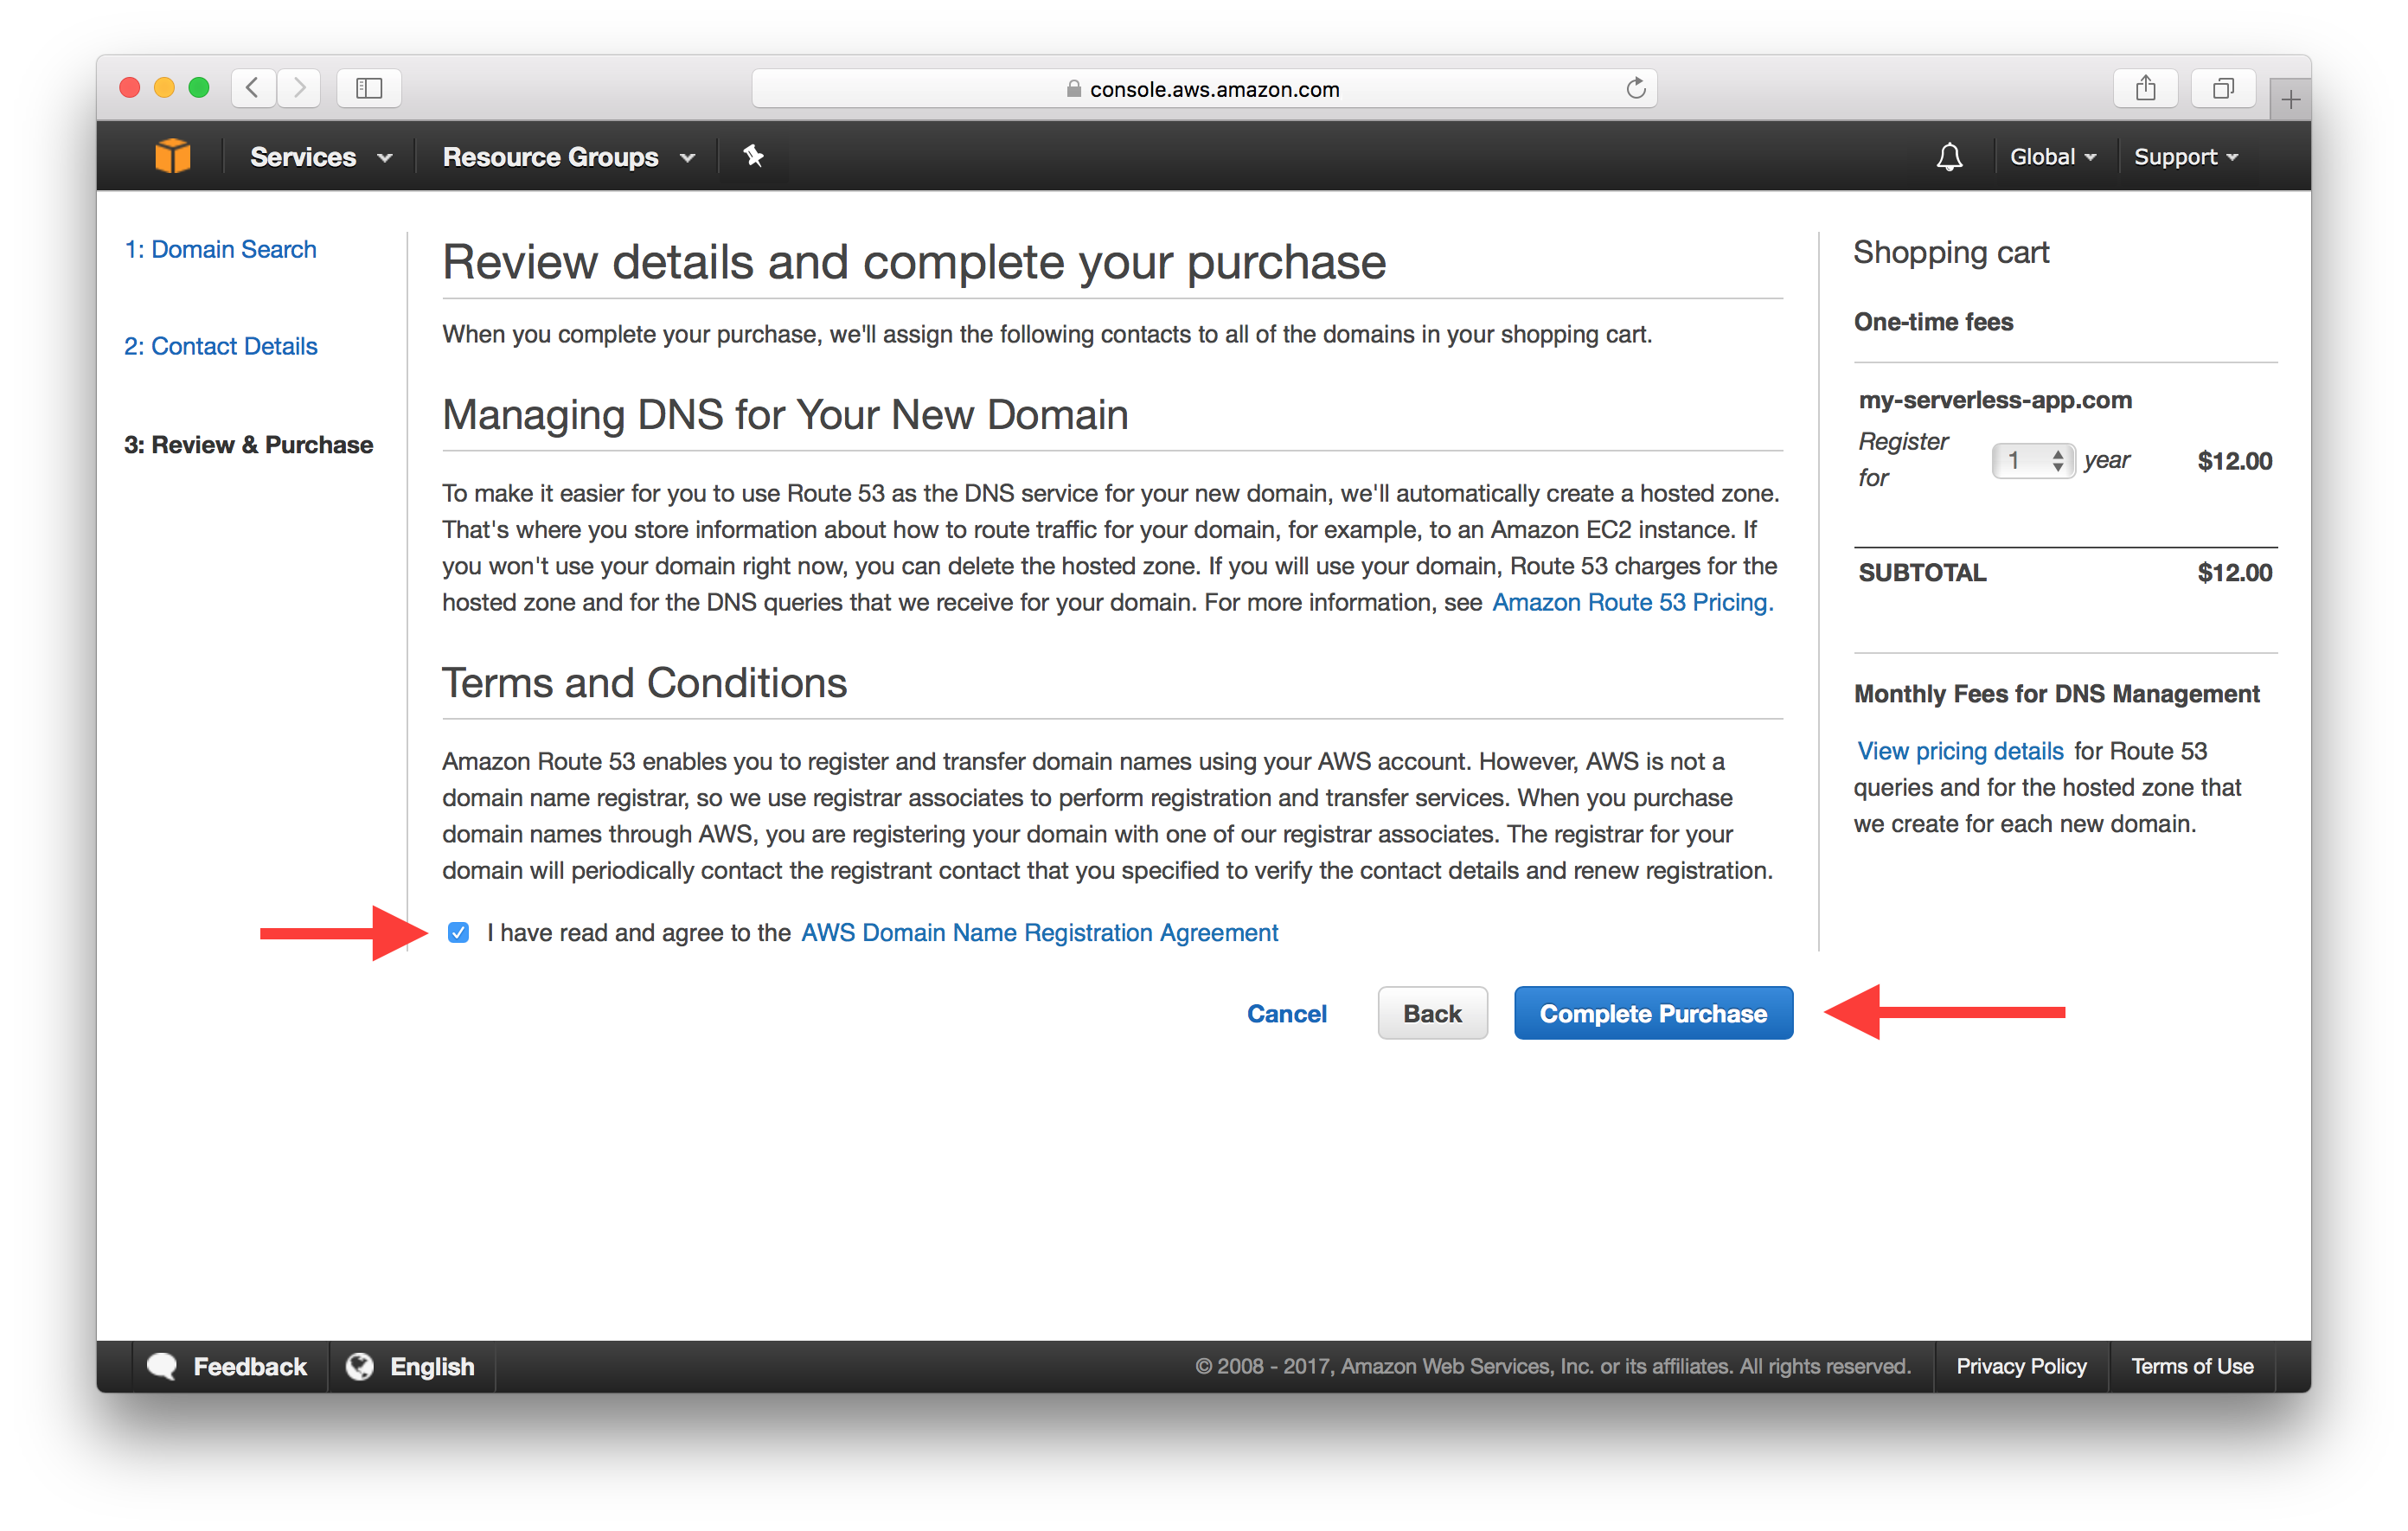
Finally, review your details and confirm the purchase by hitting Complete Purchase.
Next, let’s use this domain in our serverless app.
For help and discussion
Comments on this chapter